I've never been satisfied with any finish I've ever done. I seem to have zero skills in this area, and there are a bewildering array of options. I'm not just talking guitars and amp heads, but furniture and wooden boats. I see these finishes that look so 3D you could walk into the grains.
I'm hoping some of you master wood workers could suggest books, techniques, materials, etc. The local Rockler just wants to sell the me the latest urethane/poly/"wipe it on it will look great" stuff.
Wood Finishing 101
Moderators: pompeiisneaks, Colossal
-
LeftyStrat

- Posts: 3117
- Joined: Fri Jan 14, 2005 6:58 pm
- Location: Marietta, SC, but my heart and two of my kids are in Seattle, WA
Wood Finishing 101
It's never too late to have a happy childhood.

Re: Wood Finishing 101
I've posted this method before, but it works so well I had to post it again (from John (aka basicaudio) on AX84):
1. Sand bare wood to 220
2. Mix boiled linseed oil, Minwax fast drying polyurethane and naphtha (all available at Home Depot or Lowe's) in equal parts for about a pint.
It's not crucial to get the mix in perfect proportions.
3. Brush or wipe on the wood liberally, as the bare wood will soak it up well for the first coat. Keep going over dry areas until the wood doesn't soak up any more finish. Let it sit for 5-10 minutes, then wipe dry with a rag. Make sure to get all the finish off as this will dry faster. Let dry over night with a fan on the piece.
4. Repeat step 3 and let dry.
5. Get some 320 grit wet dry (Black, silicon carbide) sand paper. Brush on a coat of finish liberally and let it sit for a minute. Now sand the whole piece well with the finish on the sandpaper. You will get a thick pasty slurry of varnish and wood dust which will fill in the pores of the wood - this creates a super smooth surface later. Wipe off the finish when you are done sanding everything. Make sure to get every area sanded and wiped off.It may look bad initially but it will get better...
6. Get some 400 grit sand paper and repeat step 5.
7. Get some 600 grit and repeat step 5.
8. Keep going with 600 grit until you are tired of repeating it.
9. At this point you will have a super smooth surface built up.
10. Buff with #0000 steel wool and paste wax. Let the wax dry to a haze before wiping the wax off with a clean rag. Just like waxing a car.
Repeat this step a couple times at least, Then switch to a rag and very little wax. Let the wax dry completely and then buff off.
Repeat with just the wax and a rag.
Results on a piece of Bubinga:
[img 761]http://i514.photobucket.com/albums/t346 ... binga1.jpg[/img]
1. Sand bare wood to 220
2. Mix boiled linseed oil, Minwax fast drying polyurethane and naphtha (all available at Home Depot or Lowe's) in equal parts for about a pint.
It's not crucial to get the mix in perfect proportions.
3. Brush or wipe on the wood liberally, as the bare wood will soak it up well for the first coat. Keep going over dry areas until the wood doesn't soak up any more finish. Let it sit for 5-10 minutes, then wipe dry with a rag. Make sure to get all the finish off as this will dry faster. Let dry over night with a fan on the piece.
4. Repeat step 3 and let dry.
5. Get some 320 grit wet dry (Black, silicon carbide) sand paper. Brush on a coat of finish liberally and let it sit for a minute. Now sand the whole piece well with the finish on the sandpaper. You will get a thick pasty slurry of varnish and wood dust which will fill in the pores of the wood - this creates a super smooth surface later. Wipe off the finish when you are done sanding everything. Make sure to get every area sanded and wiped off.It may look bad initially but it will get better...
6. Get some 400 grit sand paper and repeat step 5.
7. Get some 600 grit and repeat step 5.
8. Keep going with 600 grit until you are tired of repeating it.
9. At this point you will have a super smooth surface built up.
10. Buff with #0000 steel wool and paste wax. Let the wax dry to a haze before wiping the wax off with a clean rag. Just like waxing a car.
Repeat this step a couple times at least, Then switch to a rag and very little wax. Let the wax dry completely and then buff off.
Repeat with just the wax and a rag.
Results on a piece of Bubinga:
[img
 761]http://i514.photobucket.com/albums/t346 ... binga1.jpg[/img]
Re: Wood Finishing 101
p.s. - I've been informed that this is called the tri-oil method 
-
LeftyStrat
- Posts: 3117
- Joined: Fri Jan 14, 2005 6:58 pm
- Location: Marietta, SC, but my heart and two of my kids are in Seattle, WA
Re: Wood Finishing 101
Thanks so much Ken, this is exactly what I was looking for.
It's never too late to have a happy childhood.
Re: Wood Finishing 101
Could that be 'Tru-Oil' method?Ken Moon wrote:p.s. - I've been informed that this is called the tri-oil method
It's very similar to the recommendations for applying Brichwood Casey Tru-Oil gun stock finish (I think it's a varnish rather than an oil, though and is often used for guitars).
https://www.birchwoodcasey.com/Refinish ... inish.aspx
It works.
For furniture, I've had good results using Danish Oil applied with fine wire wool (for a natural, rather than a glossy finish).
Re: Wood Finishing 101
Tru-Oil 
I'm sure you're right - thanks for clearing that up!
I'm sure you're right - thanks for clearing that up!

Re: Wood Finishing 101
The biggest mistake I see is going to a finer grit too soon.
Use the pencil test. Lightly scribble on the wood. Don't go to a finer grit if you can't sand it all off.
Start with 80 grit on a long hard sanding block. A soft or short block won't give A flat finish, and you'll pay for that later on finer grits.
Wipe the wood with a damp cloth to raise the grain, and when its dry sand it back again.
John
Do not limit yourself to what others think is reasonable or possible.
www.johnchristou.com
www.johnchristou.com
-
statorvane

- Posts: 568
- Joined: Thu May 11, 2006 3:28 pm
- Location: Upstate New York
Re: Wood Finishing 101
Yes, there is no substitute for prep work. Time spent before the finish goes on is time well spent.
If you are interested in a lacquer finish, the folks at the Guitar ReRanch have an excellent primer for lacquer and solid colors, wood dyes, etc. You can start here:http://reranch.com/basics.htm .
There is also an excellent forum, much like Ampgarage where you can post questions and help out: http://reranch.com/reranch/index.php
I think for wooden boats, you'd probably be looking at a completely different finish - spar varnish or a marine grade urethane. For furniture, unless it's really fine stuff, I have gotten away with a few coats of polyurethane.
Hope this helps.
Re: Wood Finishing 101
These are some excellent comments, LeftyStrat.
I always sand the wood thoroughly with #150 dry sandpaper before starting the wet sanding process, but next time I'll start with #80 then go to #150.
I tried the "french polish" technique using lacquer once on a solid jatoba front panel, but it was harder for me to control the application, so I went to the tru-oil process instead, and it seemed more forgiving.
But you might want to investigate french polishing with shellac or lacquer as a finish for fine furniture, or for spot repairs on furniture where shellac was already used.
-
LeftyStrat
- Posts: 3117
- Joined: Fri Jan 14, 2005 6:58 pm
- Location: Marietta, SC, but my heart and two of my kids are in Seattle, WA
Re: Wood Finishing 101
Thanks for all the info. I think I'll get some pieces to practice on.
It's never too late to have a happy childhood.

Re: Wood Finishing 101
No matter which finish you use, proper prep, and multiple (the more the better) thin coats with proper sanding between coats will get great results with virtually any finish.
Most people try to get good finish too soon.
Skill doesn't have near as much to do with it as patience does.
Most people try to get good finish too soon.
Skill doesn't have near as much to do with it as patience does.

Re: Wood Finishing 101
Absolutely. It could take a week or more to develop a great finish. You spend a great deal more time waiting between coats for the finish to cure than you do prepping an applying it.RWood wrote:Skill doesn't have near as much to do with it as patience does.

Re: Wood Finishing 101
Are you guys talking #80-150 on the raw wood before the first coat of sealer/truoil/whatever, or after that first coat of sealer/tru-oil/whatever?Ken Moon wrote:I always sand the wood thoroughly with #150 dry sandpaper before starting the wet sanding process, but next time I'll start with #80 then go to #150.
Re: Wood Finishing 101
Before.
I sand anything I make out of wood to the #150 level, and fill and sand all nail/screw holes, scratches, etc., even if I'm just going to cover it with tolex.
If you're going to use a clear finish or stain, it's even more important. I like to use the rubber sanding blocks that have clips to hold the sandpaper, but for curved surfaces, I sometimes use a kitchen sponge and just wrap the sandpaper around it.
Others probably use more sophisticated sanders like belt or vibrating/oscillating sanders, but my volume is so low I can take the time to do it by hand.
[img 683]http://i514.photobucket.com/albums/t346 ... 50_006.jpg[/img]
I sand anything I make out of wood to the #150 level, and fill and sand all nail/screw holes, scratches, etc., even if I'm just going to cover it with tolex.
If you're going to use a clear finish or stain, it's even more important. I like to use the rubber sanding blocks that have clips to hold the sandpaper, but for curved surfaces, I sometimes use a kitchen sponge and just wrap the sandpaper around it.
Others probably use more sophisticated sanders like belt or vibrating/oscillating sanders, but my volume is so low I can take the time to do it by hand.
[img
 683]http://i514.photobucket.com/albums/t346 ... 50_006.jpg[/img]
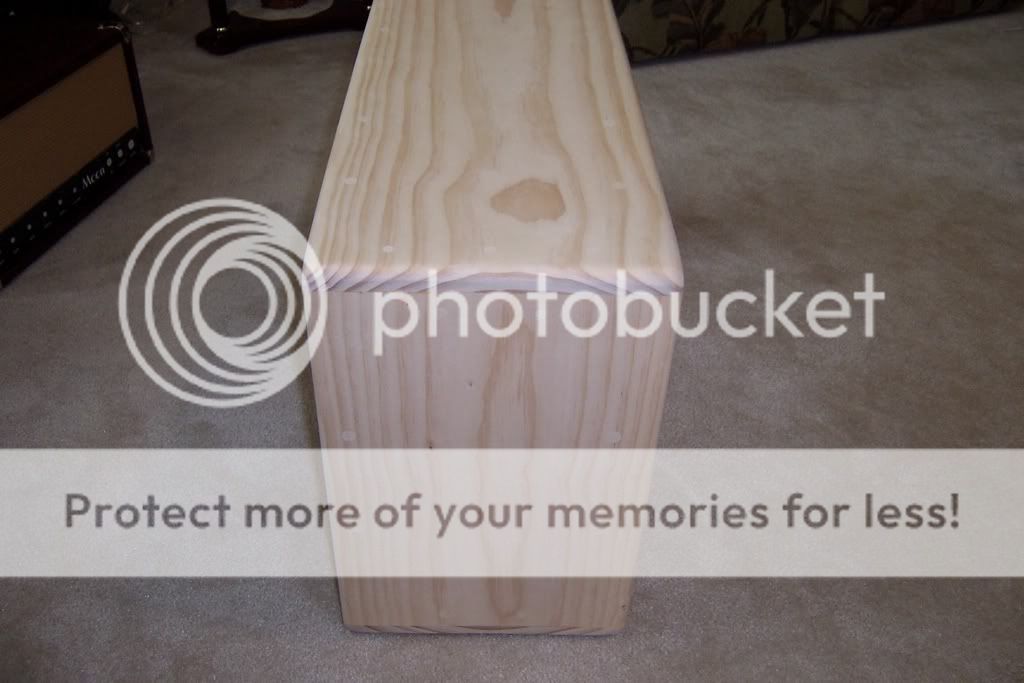
Re: Wood Finishing 101
With a soft sanding block the block conforms to the irregularities of the surface. With a longer hard sanding block the surface is trued to the flatness of the block.
If your wood is really flat, the point may be moot.
I use a hard block on coarse grits, and soft block on finer.
Rounded corners I sand holding the sheet in tension between my hands, and shoe shine it.
I will also sometimes use a flat scraper after final sanding.
John
If your wood is really flat, the point may be moot.
I use a hard block on coarse grits, and soft block on finer.
Rounded corners I sand holding the sheet in tension between my hands, and shoe shine it.
I will also sometimes use a flat scraper after final sanding.
John
Do not limit yourself to what others think is reasonable or possible.
www.johnchristou.com
www.johnchristou.com